
How to Create a Seva (Pooja Service)
Define a seva (pooja service) in your catalogue before scheduling or selling it. Sevas are configured under Sevas & Bookings.
Available on
All plans
You need access to manage the seva catalogue.
Navigation path
Sevas & Bookings → Seva & Pooja Management
/dashboard/sevas
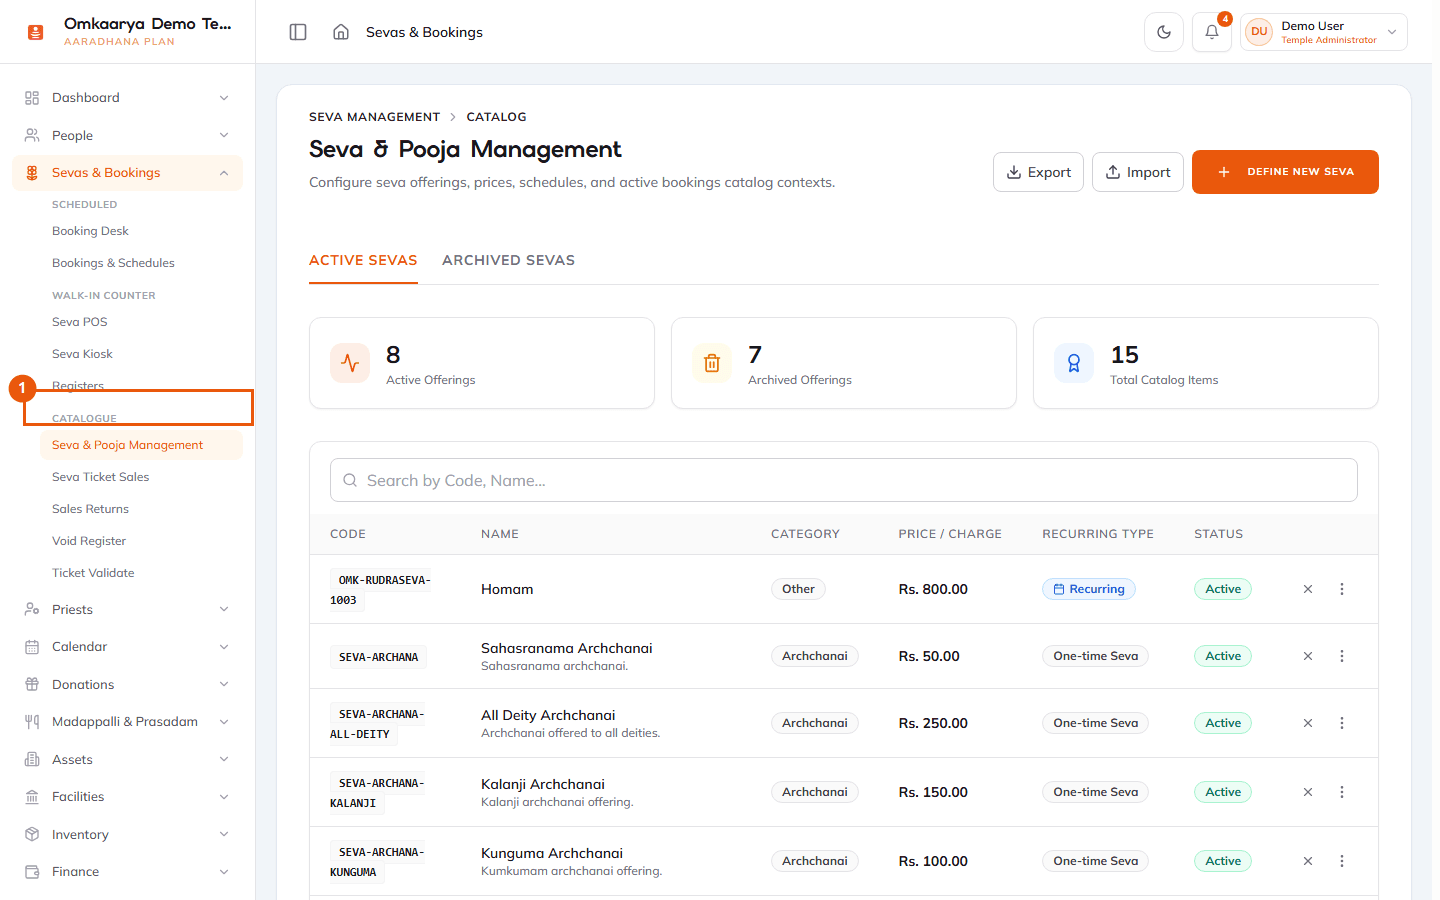
1Open Sevas
Go to **Sevas & Bookings → Seva & Pooja Management** in the sidebar.
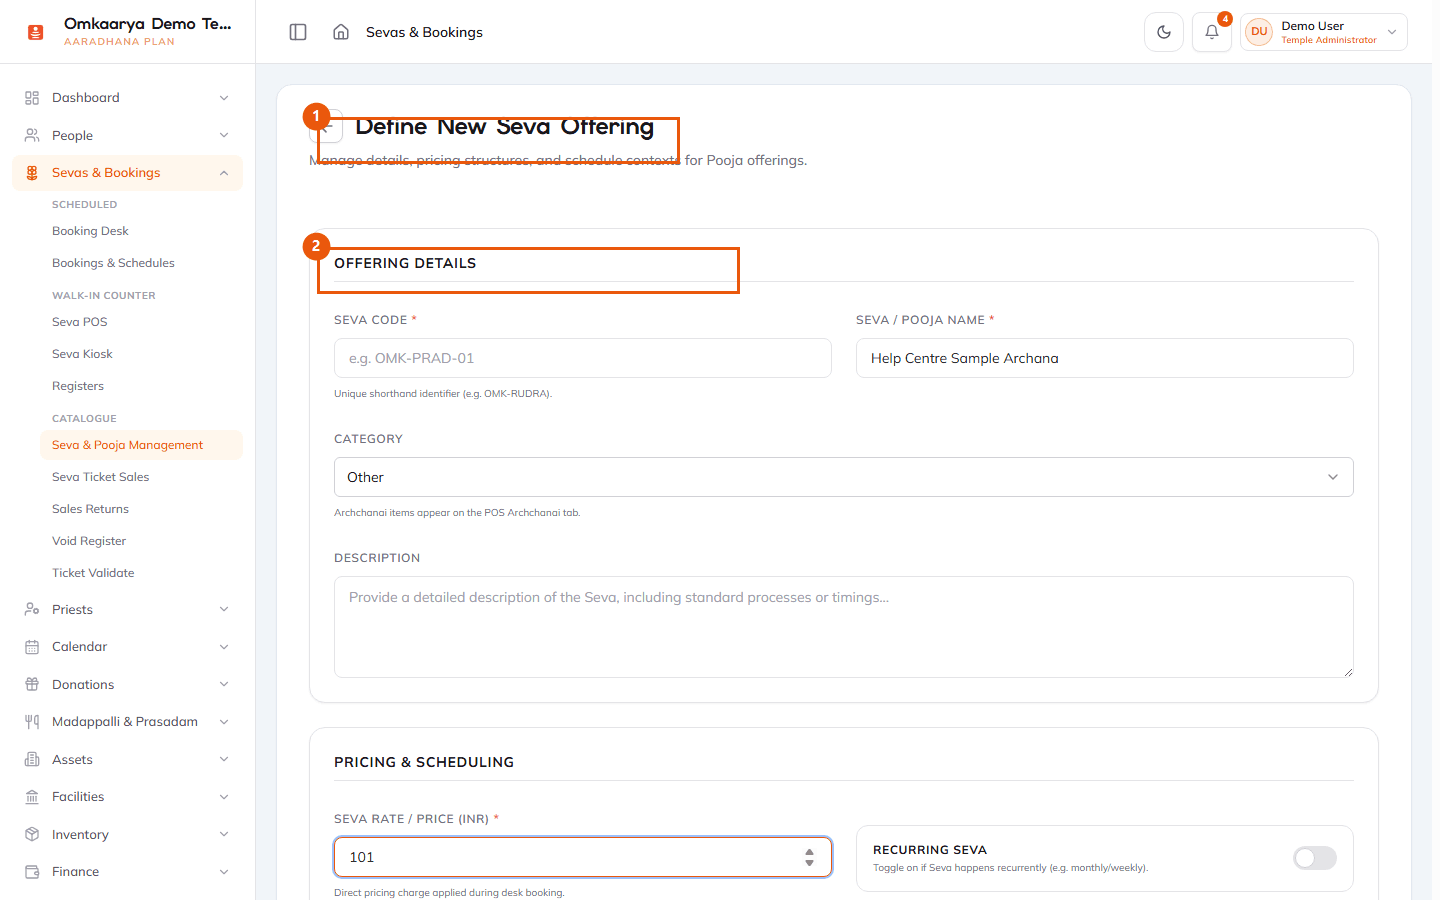
2Create a new seva
Select **+ Define New Seva**, then add name, category, pricing, and status. Publish when ready for booking desk and POS.
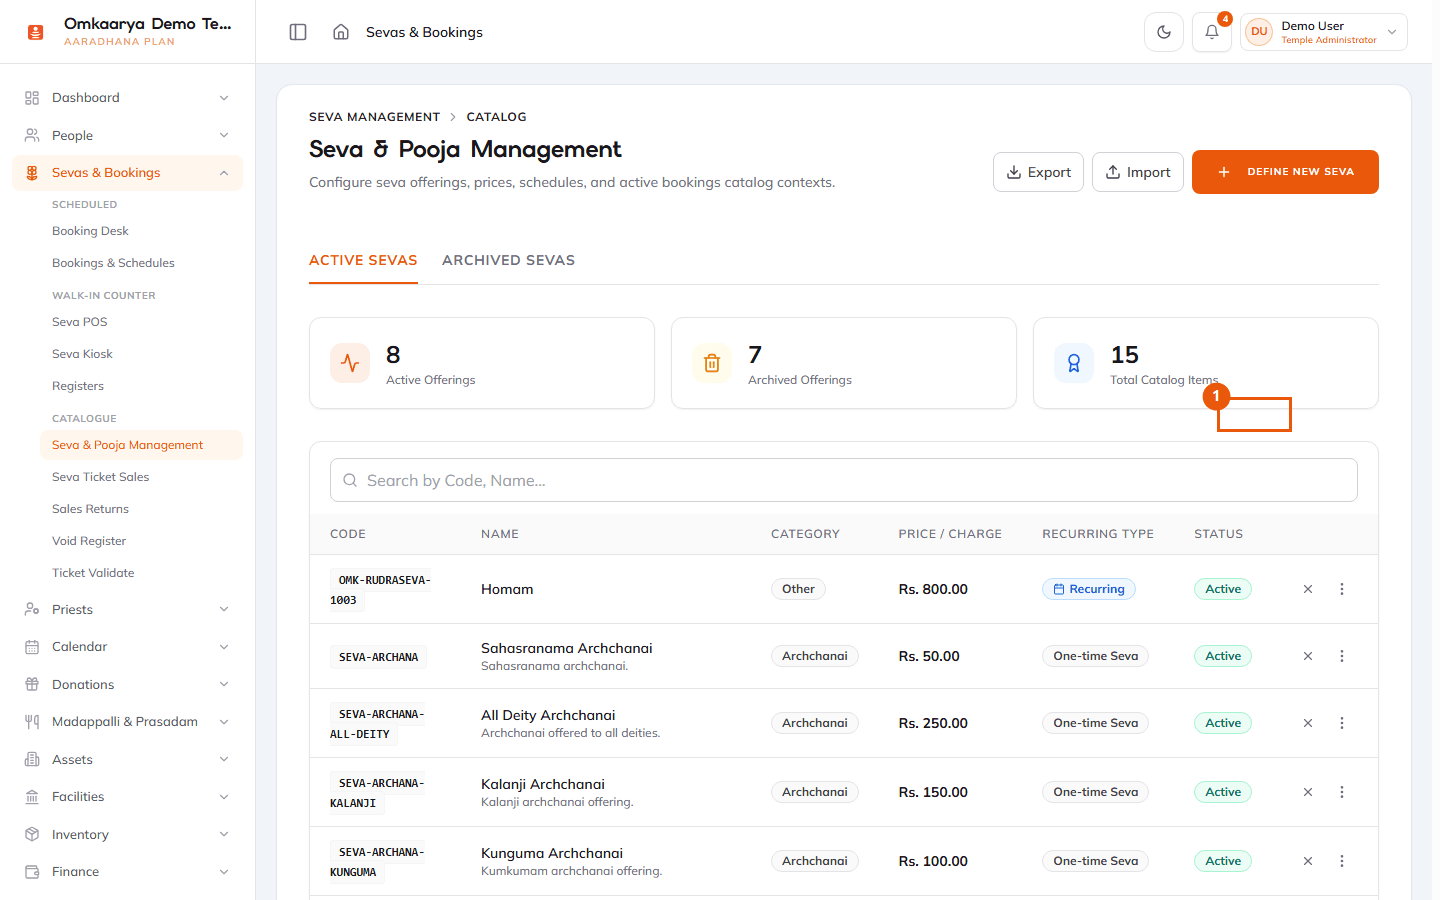
3Save and verify
Confirm the seva appears in the list and is available for schedules and bookings.
What happens next?
- Seva is available for schedule configuration and advance bookings.
Troubleshooting
| Issue | What to try |
|---|---|
| Cannot save seva | Check required fields and your role permissions for seva management. |
Related articles
Last updated: 2026-03-19 · HC-SEV-002
Was this article helpful?
Still need help?
Try another search term, browse a related category, or reach Omkaarya support through the channels configured for your deployment.