
How to Create an Advance Seva Booking
Create an advance booking for a devotee on a published seva and schedule slot. Use the Booking Desk for counter workflows.
Available on
You need booking desk access (Seva Booking Staff or equivalent).
Navigation path
Sevas & Bookings → Booking Desk
/dashboard/bookings
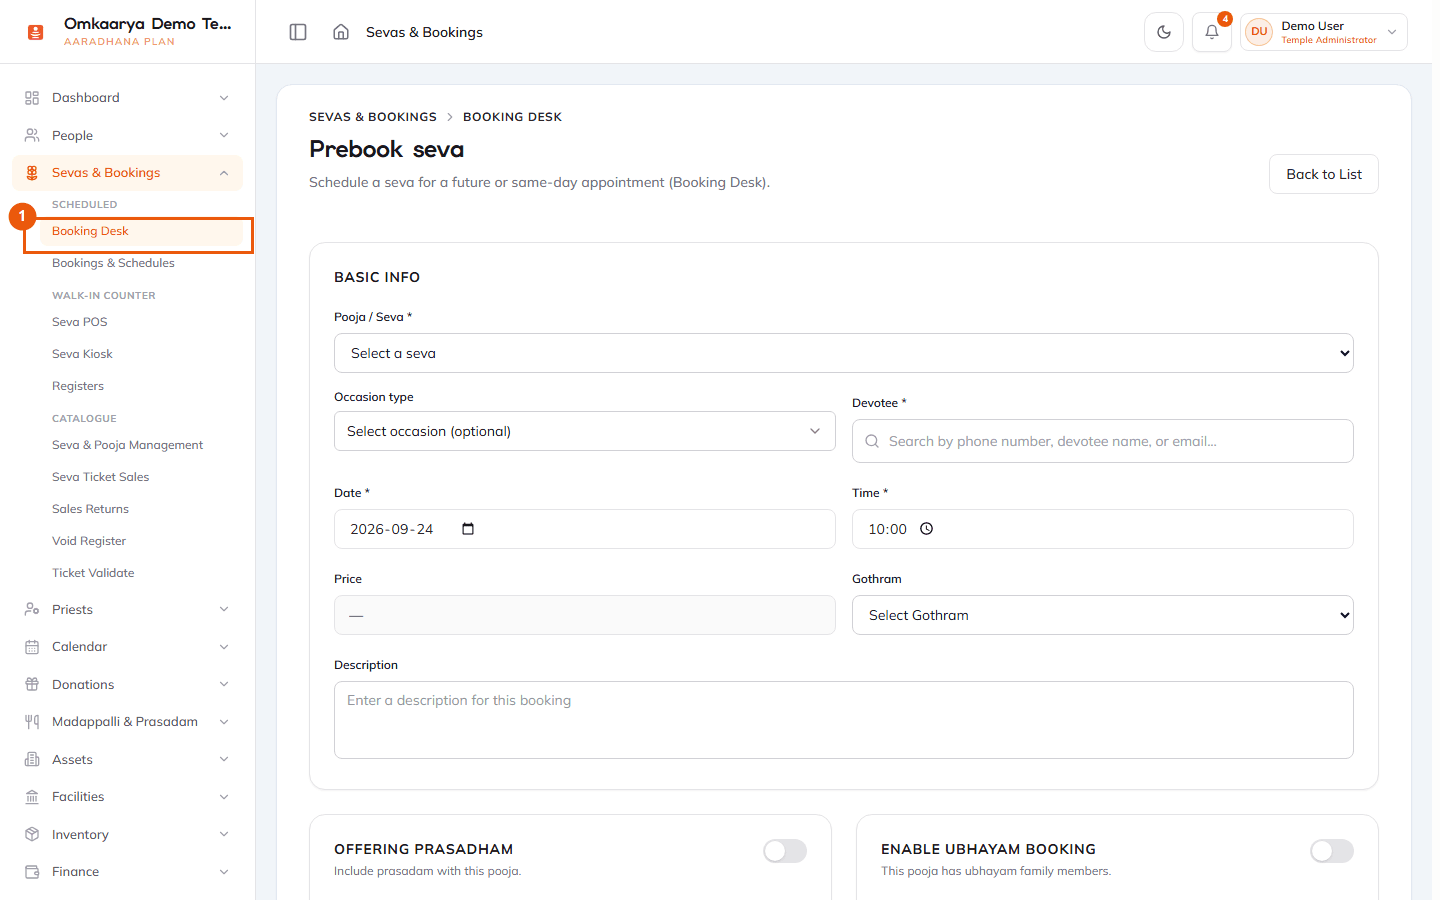
1Open Booking Desk
Navigate to **Sevas & Bookings → Booking Desk** (`/dashboard/bookings`).
2Select devotee and seva
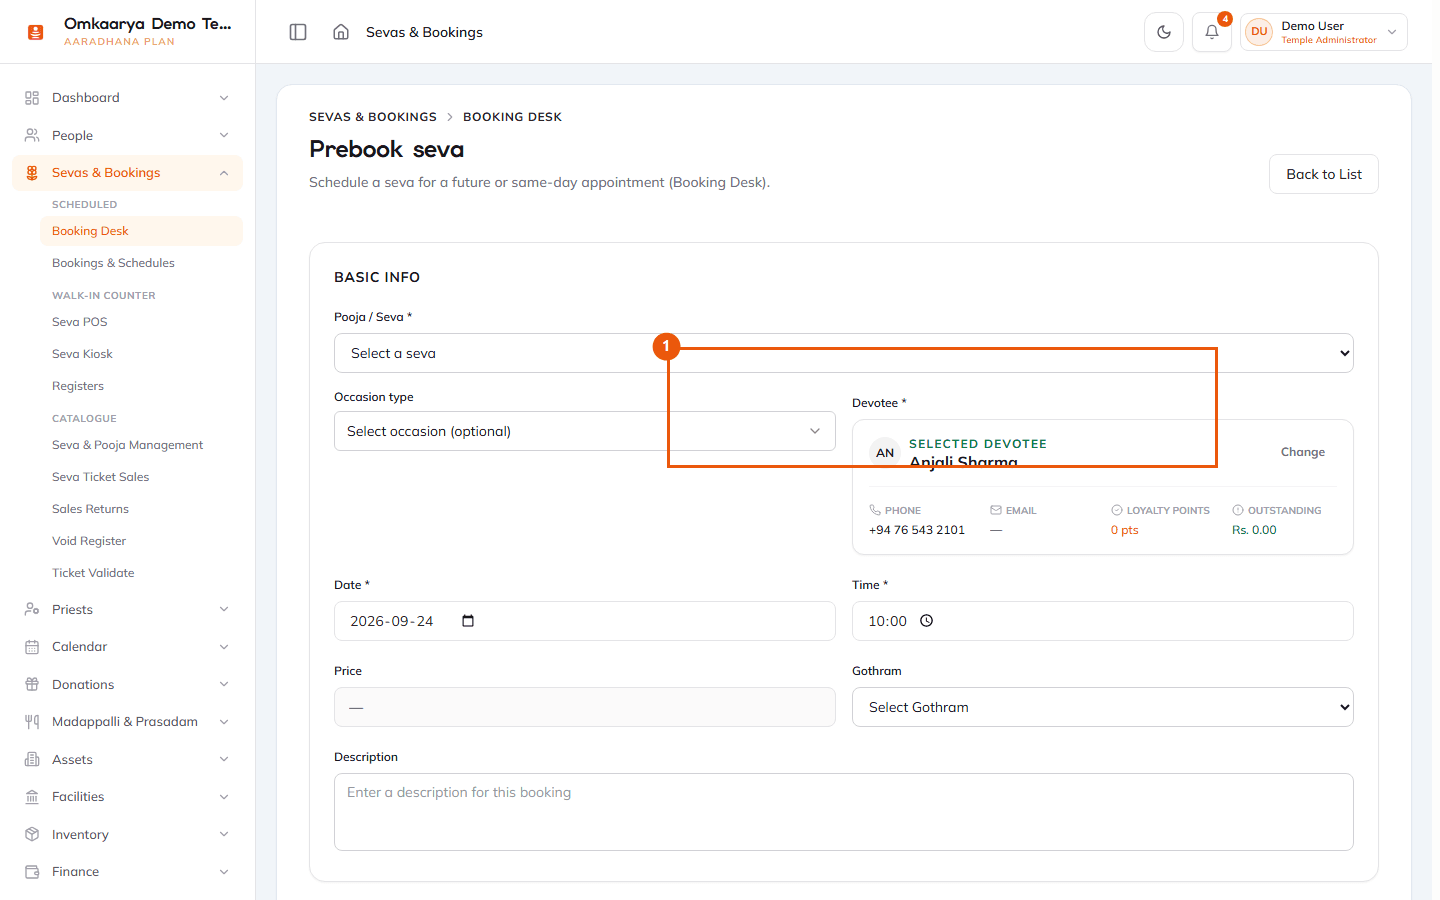
Search for an existing devotee or quick-create if permitted. Choose the seva and available schedule.
3Confirm payment method
At the desk, use **cash** or other methods your temple supports. Online card/UPI checkout is not available in the product today — see HC-TS-005.
4Complete booking
Submit the booking. Note the booking reference for receipts and gate validation.
What happens next?
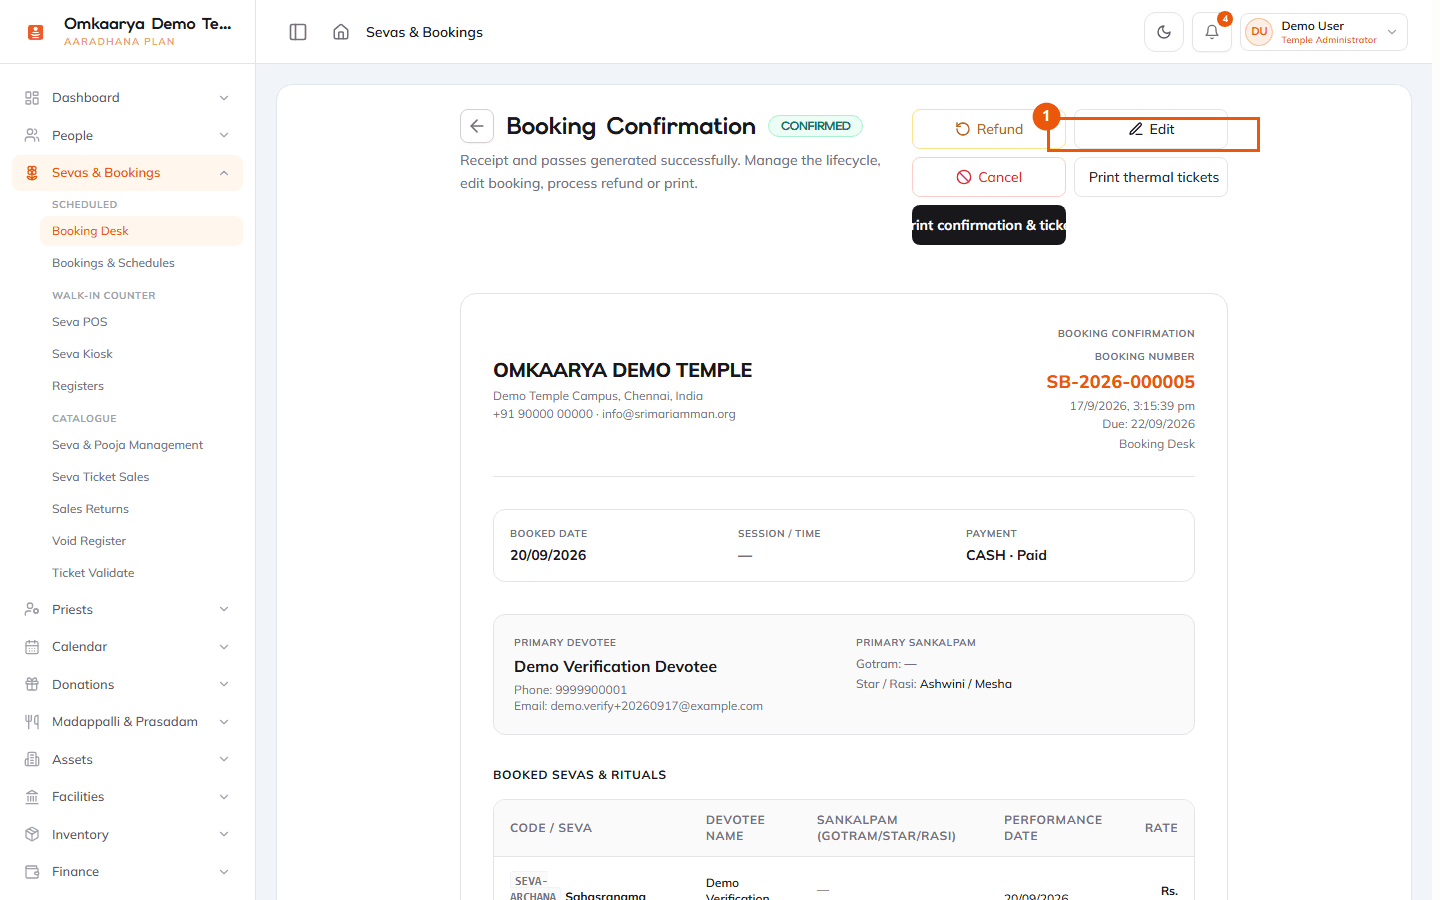
- Booking appears on Bookings & Schedules.
- Receipt can be printed from the booking detail.
Troubleshooting
| Issue | What to try |
|---|---|
| No schedule slots | Configure a seva schedule (HC-SEV-019) and ensure the seva is published. |
Related articles
Last updated: 2026-03-19 · HC-SEV-004
Was this article helpful?
Still need help?
Try another search term, browse a related category, or reach Omkaarya support through the channels configured for your deployment.